CHA Horsemanship Education Publication

The Art of Teaching Riding

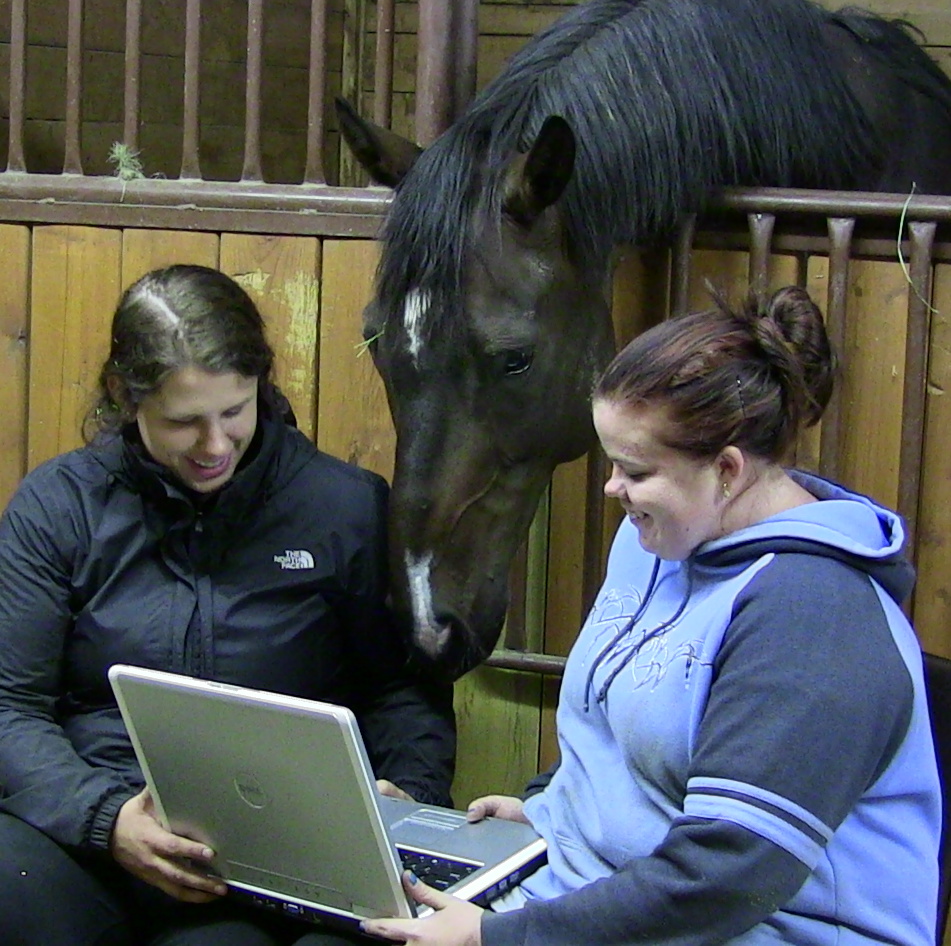
CHA’s latest manual, The Equine Professional Manual—The Art of Teaching Riding, was written by a committee of experienced riding instructors and educators. The following is an abridged except from various sections in the manual.

Classifying or Grouping Riders

Grouping riding students according to experience level and ability is the preferable way to organize groups. There will be some variation within each riding group.

  • It is more difficult to teach a group that has both beginners and advanced riders.
  • When dealing with groups of mixed ability, use the assistant instructors to give more individual attention.
  • Advanced riders may also be challenged by the horses that the advanced riders are assigned to ride.

Riding instructors need to take into consideration age, attitude, and the physical abilities of the riders when grouping riders.

  • Older teenagers or adults may be embarrassed if they are placed in a class of younger children.
  • Physical abilities would include how athletic the rider is and any special needs. Riders who are overweight, awkward, uncoordinated, or have other special needs require particular consideration.

Instructors need to keep in mind the purpose of the lesson as well as the riding abilities when grouping riders.

  • If the purpose is for families to enjoy a lesson together, then a mixture of ages, experience, and attitudes should be expected and accommodated.
  • Questioning the student may approximate riding ability, but a more accurate determination of the student’s riding ability would include a brief evaluation ride.
  • When giving evaluation rides, it is more desirable to under-mount the new riders than to over-mount them. Use very quiet, reliable horses and evaluate the rider’s position, stopping, and simple control of the horse.
  • Preset standards will help determine which group a student belongs in.
  • A novice class of riders may have never ridden before; a beginner class may be able to walk and trot; and an intermediate class may be capable of walk, trot, and canter.
  • The CHA Levels 1, 2, 3, and 4 may be used to divide riders into riding groups.
  • The instructor might consider creating an evaluation checklist of skills and mark off each skill as the student rides in an evaluation ride.

Methods of Presentation

To communicate information, the method chosen may depend on the material being presented, students being taught, and environment and resources that are available. It is best to use more than one method; some people understand and respond to one method better than another.

Explanation: An explanation tells the rider how to do something, such as how to hold the reins or how to find the takeoff point for a jump.

  • Explanations must be clear, short, to the point, and with key phrases to remember.
  • Make explanations positive.
  • Tell how to do something, instead of how not to do something.

Demonstration: Demonstrations show how to do something, such as mounting or use of a curry comb, and should be brief and to the point.

Practice or Repetition: Physical skills require practice in order to develop strength, flexibility, and motor patterns. Students need repetition and practice to learn a new skill or to improve on a learned skill.

Correction: Correction leads to mastery of a skill. Anyone learning a new skill is bound to make some errors, and the individuals must rectify those errors to correctly and safely master the skill.

  • Be positive and supportive in correction. Show the students why it is easier and better to use the correct technique and how an incorrect technique will handicap the student. (For instance, have riders try balancing in two-point position with their heels down and then try balancing up on their toes; riders can feel the insecurity balancing on their toes).
  • Be very specific in telling students exactly how to correct their errors. It is not enough to say, “Get those legs in.” The students must be shown how.

Discussion: Discussion combines input from the instructor with input from the students. In order to have a discussion on a topic, everyone must have at least some knowledge of the subject.

  • The instructor’s role is that of leader and moderator; to clarify and summarize the main points of the discussion; and to redirect the conversation if the students wander off the topic.
  • It is useful in planning group projects and for topics on which many people have opinions, such as horse behavior and training.
  • When holding a discussion, try to place all students in a circle so the students can see and hear each other.
  • All students should be motivated to contribute to the conversation, and those who dominate the conversation must be reminded that others have something of worth to contribute. This method enhances communication skills and helps members of the group become acquainted and relate to each other.

Lecture: Lecture is best used for introducing a new topic and giving out background information, like safety rules. Lectures are often used in unmounted lessons. A lecture should be no longer than thirty minutes, and even shorter for younger children. It is easy for students to become bored with sitting and listening. In order for a lecture to be successful, an instructor should:

  • Be well prepared. Show enthusiasm for the subject.
  • Know more about the subject than given in the lecture.
  • Do not read from lecture notes.
  • Be stimulating and creative.
  • Keep sentences short.
  • Keep vocabulary appropriate to the age group.
  • Use charts, models, or other visual aids.
  • Use a sense of humor. People enjoy humor and will remember any points that raise a chuckle.
  • Make eye contact with the listeners.
  • Project the voice to ensure the entire audience can hear.
  • Use expression and inflection in the voice.
  • Avoid using “filler words” like “uh,” “you know,” and “okay.”
  • Involve the listeners; ask someone to come up and hold something, or have everyone get up and try some exercise that relates to the subject.
  • Ask questions.
  • Be prepared to answer questions.

Role Playing: Role playing can simulate reality from someone else’s point of view. It involves imagination and encourages creativity, expression of feelings and values, and the development of social skills.

  • Role playing is very useful in demonstrating horse behavior and encouraging students to “think like a horse.”
  • It can be fun, especially for younger children who are more enthusiastic about some form of play than they are about lectures or discussions.
  • Some students love to “play horse” and will happily run through figure eights or arena patterns or perform imaginary classes in a “horseless horse show.”

Games & Competitions: Games and competitions can stimulate effort and interest in subjects the instructor wants the students to work on. Games and contests motivate the students to try by promising recognition and praise to the winner. The best games and competitions are those that are fun and that reward all riders for their efforts.

Additional topics covered in CHA’s The Equine Professional Manual—The Art of Teaching Riding include riding programs, teaching techniques, the riding student, the horse, communication, arena instruction, risk management, and horse management. The manual also includes sample forms for riding instructors and facility managers, sample lesson plans, checklists, sample business plans, and more. To purchase the complete manual, please visit, www.CHA.horse/professionalmanual.

The Art of Teaching Riding Read More »

Laura Jones

Sample CHA Lesson Plan

Tips for Lesson Planning

By Sarah Evers Conrad

Lesson planning is an important part of developing a cohesive and organized lesson program focused on goal achievement and rider progression. According to CHA’s latest manual, The Equine Professional Manual: The Art of Teaching Riding, a lesson plan is “a clear, flexible, and individualized teaching aid for conducting a class or a short-term instructional session.”

Each lesson plan is based on the individual needs, interests, and abilities of the students involved in that lesson. It should always focus on safety and be specific, sequential, and progressively build on the student’s skill level.

Why Lesson Plan

“Lesson plans make you organize your thoughts, arena, focus, and energy,” says CHA Master Instructor Tara Reimer, who owns Cloud 9 Ranch in Steinbach, Manitoba, Canada, with her husband, Derek. This CHA Clinician, Region 2 Director, and 2013 CHA Instructor of the Year teaches Western, English, jumping, and vaulting, while also training horses at the ranch. “A lesson plan keeps you on track time wise.”

CHA Master Instructor Cheryl West is a USDF Bronze Medalist, CHA Standard, IRD, and Equine Facility Management Clinician, and director in Region 8. She owns and operates West Equestrian in Sand Springs, OK; teaches at Stormwalker Ranch; and gives clinics nationally.

“A well-thought-out lesson plan allows you to have a creative lesson for your riders,” says West. “It gives you the ability to teach to the lowest level, but allows you to be prepared for those riders who catch on a bit quicker or even a bit slower.”

Since West works with a variety of instructors, having a lesson plan ready means that another instructor can fill in and use her plan if West needs to miss a lesson. It also creates a record of skills, attendance, and horse usage.

CHA Certified Instructor Donovan Dobbs of Dobbs Horsemanship in Ozark, MO, considers a lesson plan a map that guides the rider to a specific goal. Dobbs teaches riding lessons, starts and trains horses for a variety of disciplines, offers horsemanship clinics, and serves as the Missouri representative for Region 9.

Parts of a Lesson Plan

The Equine Professional Manual advises each lesson plan should include the following sections:

  • Destination, which refers to the lesson’s main goal, aim, or objective
  • Preparation, such as the number of students and horses, assistants, equipment, tack, how the arena will be set up, etc.
  • Explanation of the new subject or skill to be taught, which includes a step-by-step progression highlighting key points and phrases of that lesson
  • Demonstration by an instructor or student who can perform the skill mounted or unmounted
  • Application of the new skill by students, either as a group or individually
  • Observation and Correction by the instructor as students try to master the new skill
  • Repetition of the skill by students, which sometimes is done via games, patterns, etc.
  • Conclusion of the lesson with a summary, review by the students, and a cool down for the horses
  • Evaluation by the instructor to see if the new skill was achieved, what the strengths/weaknesses of the lesson and teaching techniques were, and what changes to the lesson are needed

Creating the Lesson Plan

Each riding instructor will have their own methods for creating a lesson plan. West, Dobbs, and Reimer start with a general list of skills students learn in their lesson program.

Dobbs uses his master list and general lesson plans as a basic blueprint to develop individualized lesson plans based on the students in each lesson. He focuses on general topics with an overall goal for each rider per lesson. Each lesson with Dobbs focuses on that overall goal until it is achieved.

He likes to cover at least two or three points under that goal, although he may be able to cover more material beyond those if time allows. Dobbs keeps lesson plans to one page or less and never works more than five lessons ahead.

Both West and Reimer use the levels provided by CHA.

“I create goals at each level,” says West, adding that next she focuses on the aids or part of the rider she wants to focus on.

She always includes a pattern of some kind, even if it’s just one that has the rider ride in and out of cones or poles. To create her lesson plans, West reviews old lesson plans, articles, books, and websites that have patterns from several disciplines, including dressage, jumping, and western riding.

Each of Reimer’s lesson plans addresses the natural aids of weight, voice, legs, hands, and energy. In addition to the lesson plan, she always has a progression plan for how students should progress through the skills.

Reimer recommends instructors write out lesson plans, and if they end up teaching more than planned, to revise the lesson plan afterward. In addition, she gains invaluable insight for lesson planning by asking for feedback on the lesson from her students afterward.

Mistakes to Avoid

One of the biggest mistakes West sees in lesson planning is not including how to do the activity. “It’s important to the rider to understand how its done, not just what,” says West. “Tell the rider specifically how to use each part of their body and when.”

Reimer warns not to overcomplicate the plan. “Some students really struggle with left and right or memorizing patterns, so keep patterns simple, and repeat them several times,” she adds.

Dobbs reminds instructors not to get so focused on what they want to teach that it affects the effectiveness of their teaching. “Keep it simple and flexible,” he says, adding that there are many ways to complete a goal. “The instructor should not get too frustrated if circumstances get you away from your lesson plan. Remember, we are dealing with horses and people with minds of their own. It should never be a one-size-fits-all program.”

After the Lesson

Taking notes on the lesson plan can help with future lesson plans. “We always write notes on each student after the lesson on what they succeeded with and what they could work on, or the next possible step,” says West. “We also will note how horses rode, any issues, or if the plan was changed.”

Reimer shares that her notes, which she archives for two years, are detailed enough that if another instructor has to step in, then they will know each rider’s strengths, weaknesses, and skill level.

However, while details are important, says Dobbs, he warns that too many can be problematic. “Some lesson plans I have seen have so much going on that I even got confused,” he adds.

Reimer’s final piece of advice is for instructors to think back on how they learned all that they know. “Don’t expect your students to learn it any faster,” she says, especially if they only ride once a week. “It took me trying to learn piano as an adult to appreciate muscle memory and retention of the skill from one week to the next.”

While lesson planning is never an exact science, being organized and fine-tuning what works for you and your lesson program can make the time invested well worth it. And CHA’s various resources, including advice from fellow members, can always improve any lesson program.

Sarah Evers Conrad is the editor of CHA’s The Instructor, and is also published in a variety of equine publications, such as Horse Illustrated, The Horse, Arabian Horse Life, American Quarter Horse Journal, American Paint Horse Journal, USDF Connection, and others. In addition, she helps equine businesses with their marketing through her company, All In Stride Marketing. AllInStrideMarketing.com.

For more on lesson planning and to see a blank sample lesson plan and several additional completed sample lesson plans, you can purchase CHA’s The Equine Professional Manual—The Art of Teaching Riding from www.CHA.horse/store.

  • Pull Sample Lesson Plan from Equine Professional Manual from pg. 191 and 192
  • Show the cover of The Equine Professional Manual—The Art of Teaching Riding

Sample CHA Lesson Plan Read More »